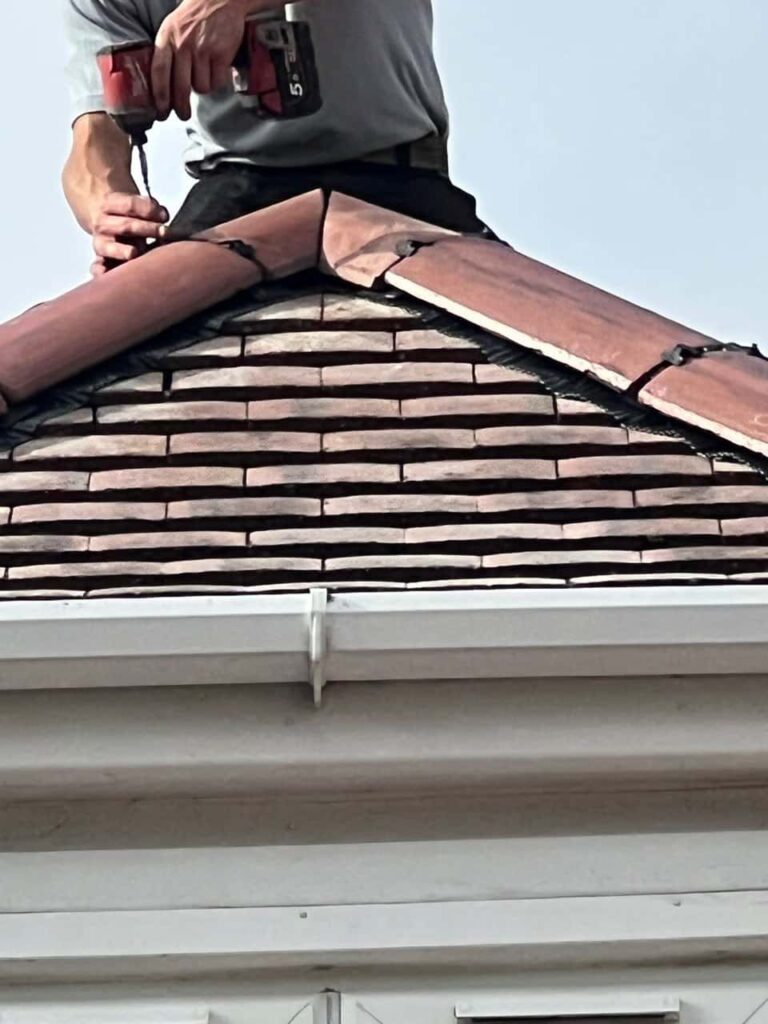
Introduction: Lead flashing is a crucial component of your roofing system, designed to prevent water intrusion in vulnerable areas like roof joints, chimneys, and valleys. Regular inspections of your lead flashing are essential to ensure your roof remains watertight and in excellent condition. In this blog post, presented by Long Eaton Roofing Repairs, we’ll walk you through the steps to inspect your lead flashing for damage so you can address any issues before they escalate.
1. Choose a Safe and Stable Platform
Before you start your inspection, ensure you have access to a stable and safe platform to reach the areas of your roof where lead flashing is installed. Ensure your ladder is in good condition and placed on level ground.
2. Wear Safety Gear
Safety should be a top priority during roof inspections. Wear appropriate safety gear, including non-slip shoes, gloves, and a safety harness if you have one. Safety glasses can also protect your eyes from debris.
3. Check Vulnerable Areas
Begin your inspection by focusing on the vulnerable areas where lead flashing is commonly installed. These include:
- Roof joints: Inspect areas where different roof sections meet, as flashing is often used to seal these joints.
- Chimneys: Examine the flashing around the base of your chimney, including the point where it meets the roof.
- Valleys: Look for flashing in valleys where two roof slopes converge.
- Dormer windows: Inspect the flashing around dormer windows or other roof protrusions.
4. Look for Visible Damage
Carefully examine the lead flashing for visible signs of damage, including:
- Cracks or splits in the lead material.
- Holes or punctures that may allow water to penetrate.
- Loose or detached sections of flashing.
- Rust or corrosion on the surface of the lead.
5. Check for Sealant Integrity
Inspect the sealant or caulk around the flashing. The sealant should be in good condition and free from cracks or gaps. If you notice any deterioration, consider resealing the flashing to maintain a watertight seal.
6. Assess Roof Movement
Remember that your roof can experience slight movements due to settling or temperature changes. Check if the lead flashing has adapted to these movements without signs of stress or separation.
7. Investigate Interior Signs
Interior water stains or damage on your ceilings and walls can indicate lead flashing issues. If you observe such signs, trace the source of the leak to the corresponding exterior area and inspect the flashing in that location.
8. Schedule Professional Inspection
While you can perform a visual inspection, you should schedule regular professional roof inspections. Roofing experts have the experience and expertise to identify subtle issues that may not be immediately visible.
Conclusion: Regular inspections of your lead flashing are a proactive way to maintain the integrity of your roofing system and prevent water intrusion. By following these steps and addressing any damage promptly, you can extend the lifespan of your lead flashing and ensure your home remains protected from leaks and water damage. If you discover any issues during your inspection or have concerns about the condition of your lead flashing, don’t hesitate to contact roofing professionals like Long Eaton Roofing Repairs for a thorough assessment and necessary repairs.
Call us on: 0115 647 1193
Click here to find out more about Long Eaton Roofing Repairs
Click here to complete our contact form and see how we can help with your roofing needs.

